Airborne Miniatures
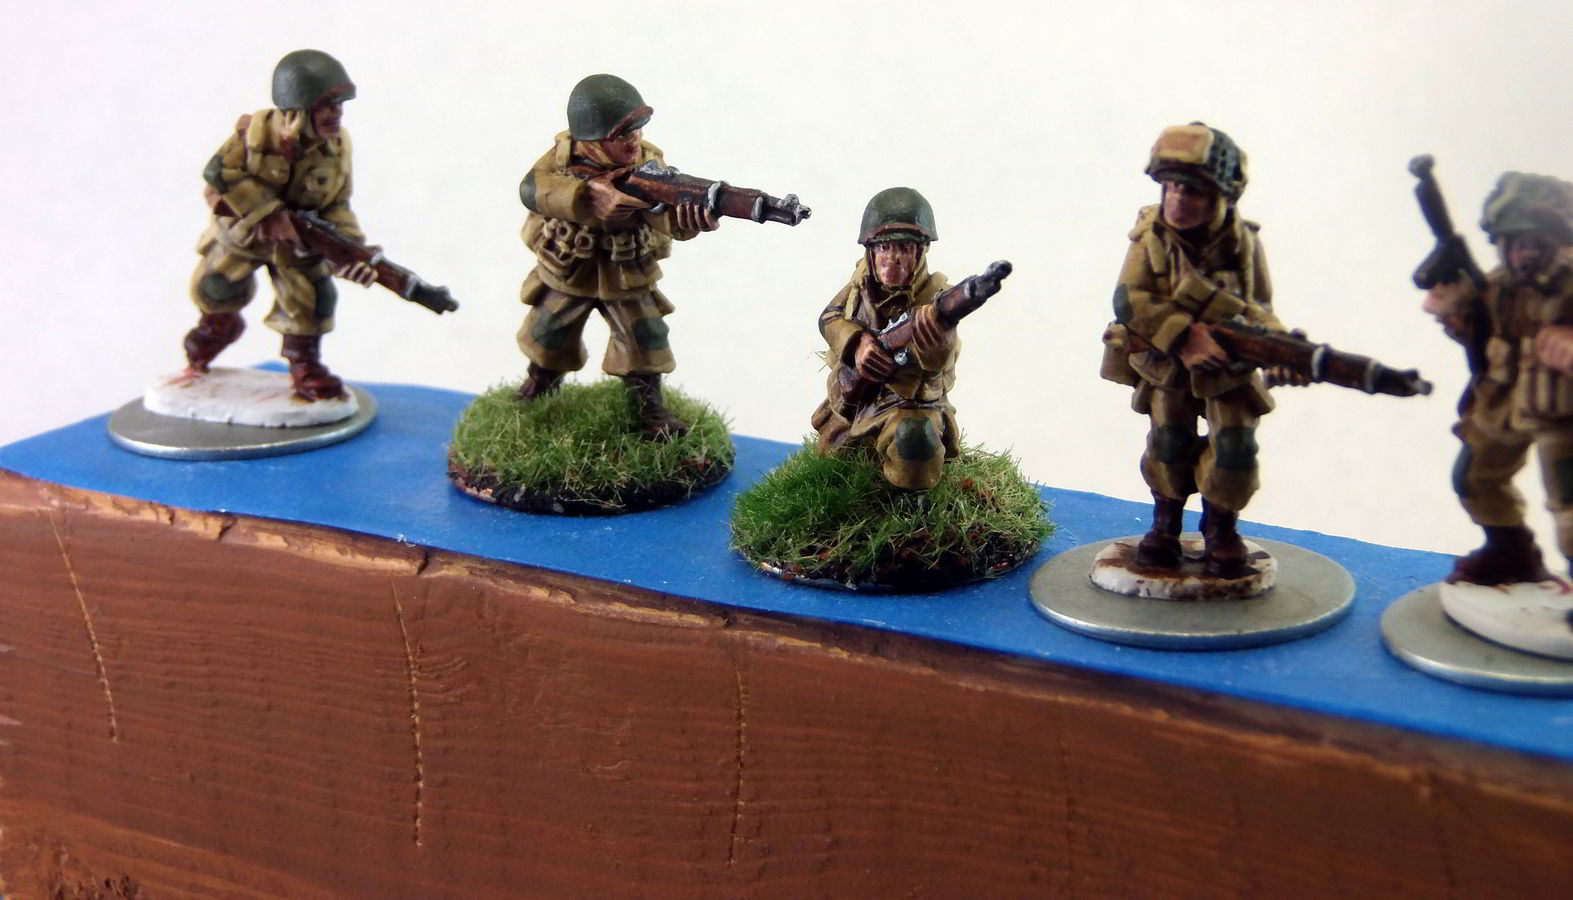
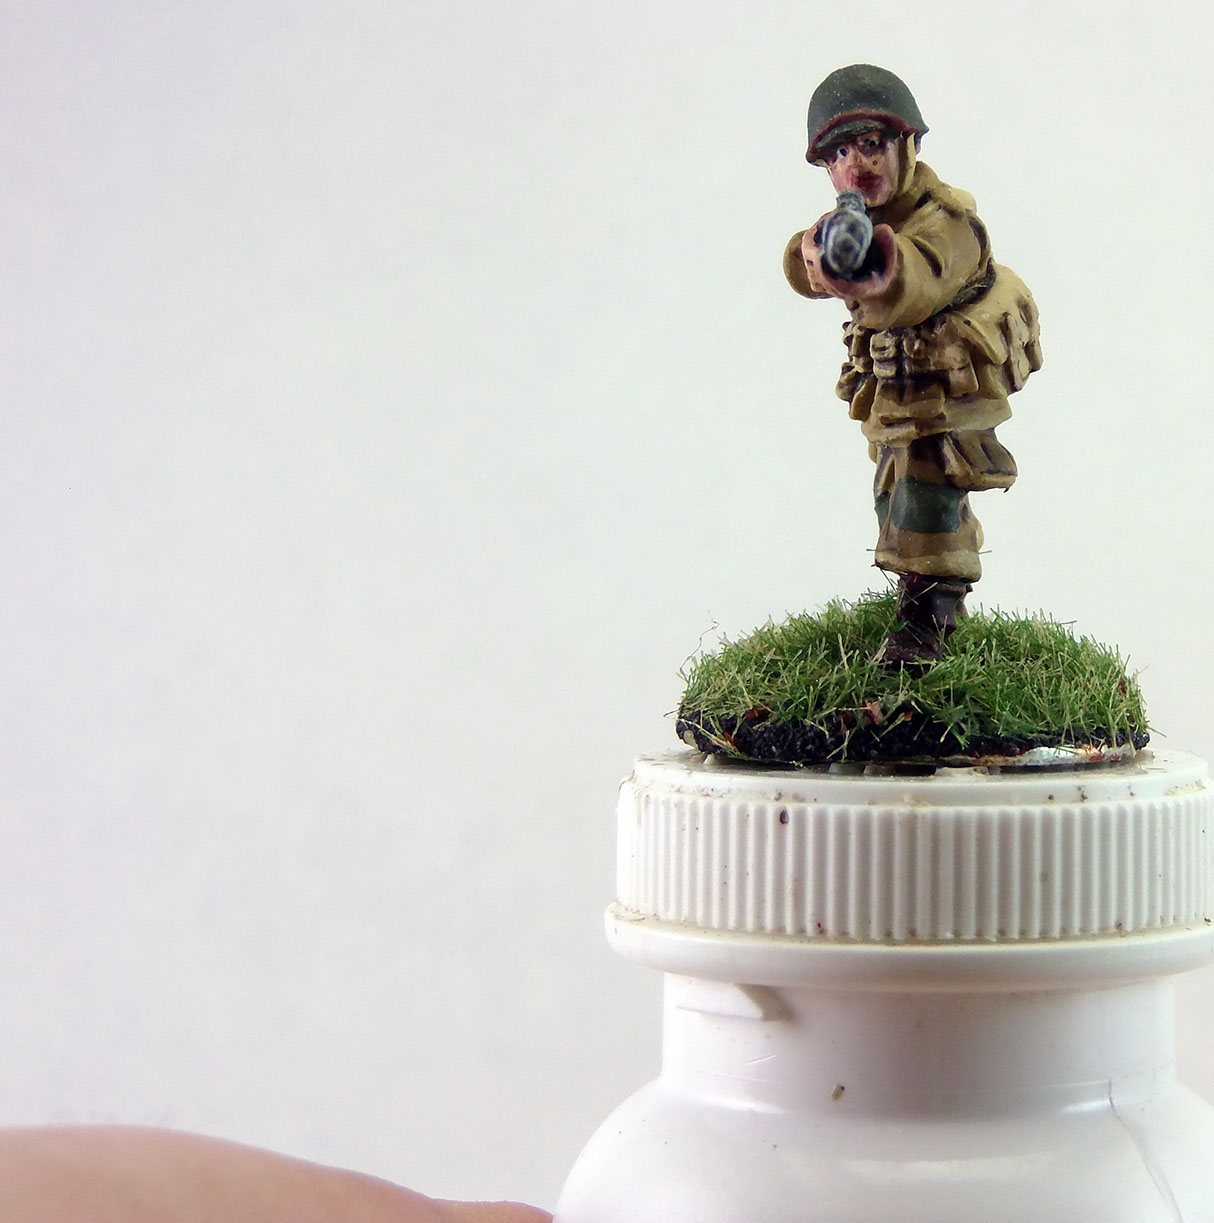
In January I decided to resume the miniatures hobby, this time with WW2 figures. I settled on US airborne troops as the first force I’d purchase and paint up. I’ve recently finished painting my first squad of them and am quite pleased with how they turned out.
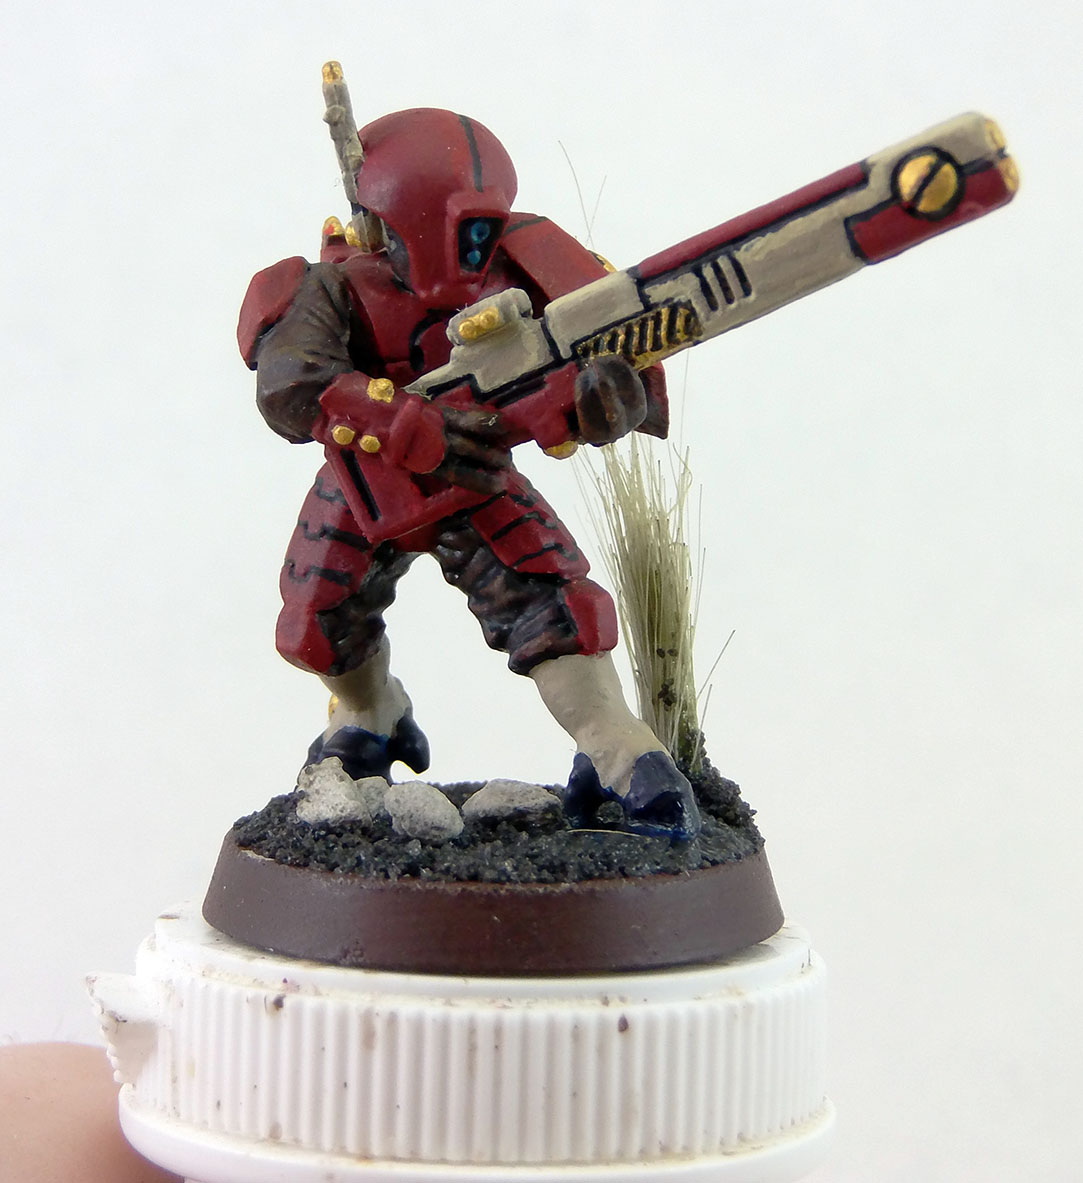
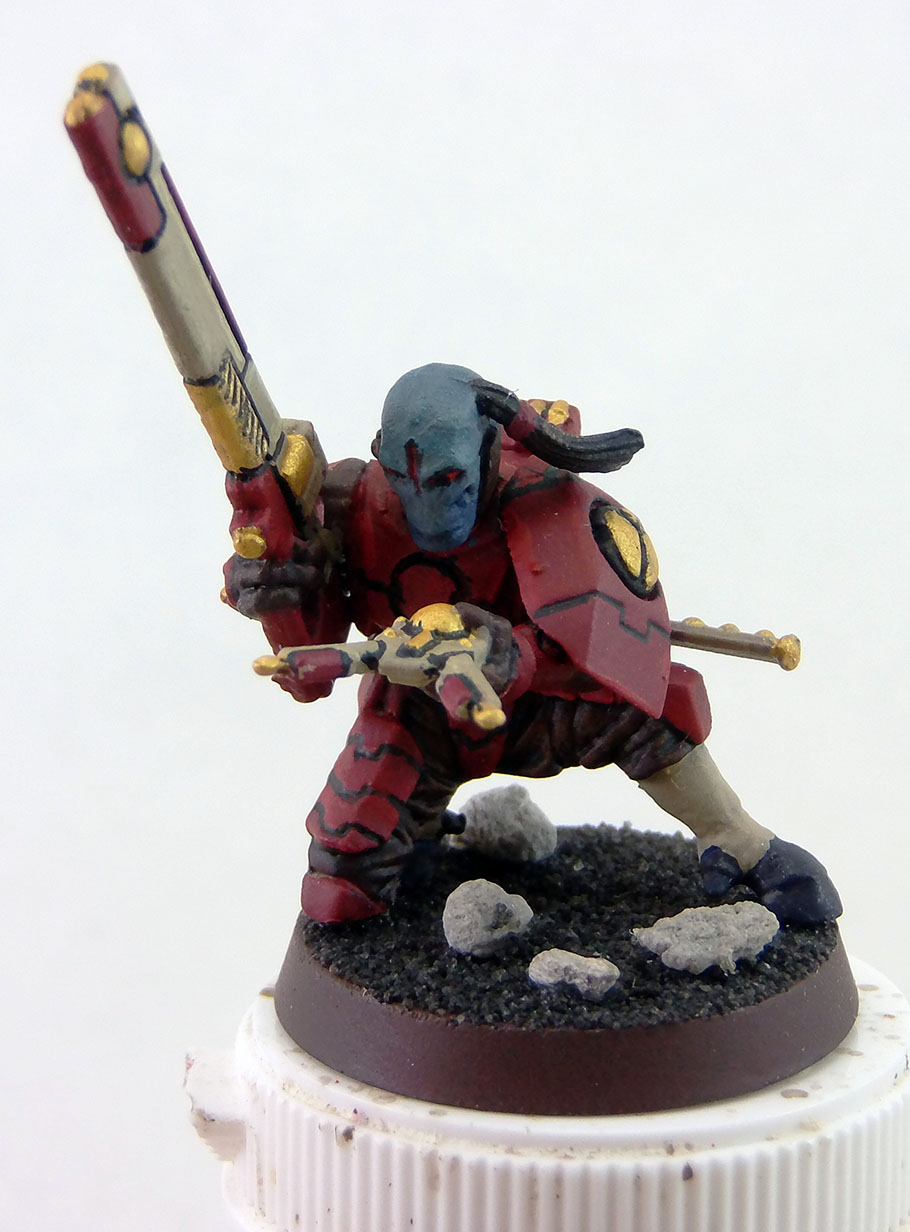
I’d gotten into painting once before, trying my hand at Warhammer 40k figures. After an abortive attempt at some Ultramarines, I settled on the Tau Empires as my army of choice. I appreciated their ‘shooty’ quality. Their armor (both worn and vehicular) has sleeker lines than most of the other factions, and I thought my wife would appreciate the mecha-inspired battlesuits. The Japanese aesthetic permeated the entire army, in fact, right down to the shaved heads with topknots and the ceremonial blades. In hindsight, it was an obvious choice.
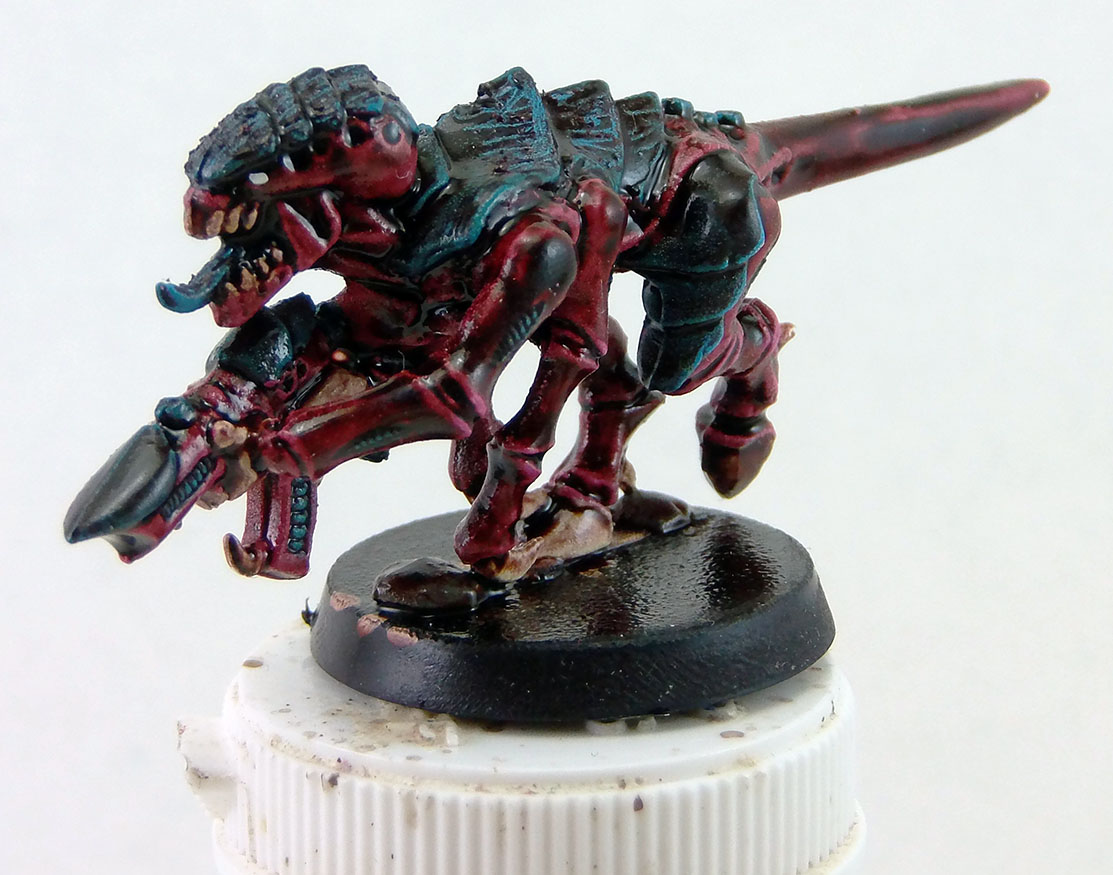
My wife, on the other hand, appreciated the strong biological theme of the Tyranids, with psychic queens steering genestealers to drive the evolution of the brood. She appreciated their swarm tactics and strong melee options. Most of all, however, she appreciated that as living creatures, rather than soldiers in uniform, small imperfections or variations from figure to figure would not be out of place. We succeeded in using the ‘dipping’ technique to shade her figures absurdly quickly after a very simple basecoat of bubblegum pink and cotton-candy blue. Though not as purple as she initially preferred, the results made a very pleasing descendant of Hive Fleet Behemoth.
Ultimately, however, W40k was too dominated by people with full-size, 2000-point armies for me to ever get to even try playing without investing hundreds of hours and dollars. I wasn’t even a particular fan of the rules, as far as I could tell.
I’d decided on World War 2 when deciding to get back into miniatures, but wanted to be sure to choose something that would work well at skirmish scales. That ruled out Flames of War, the only particular contender you’re likely to find in your FLGS1, but I wanted 28mm anyway.
After reviewing my options, I picked out an assortment of Artizan and Bolt Action (Warlord) figures. I bought a copy of the Nuts! ruleset, which I was already passingly familiar with, as well as copies of Disposable Heroes and its affiliated Point Blank rules. From a thorough reading of both, Nuts! is exactly what I’m looking for: something simple for a skirmish between — or cooperatively alongside — friends.


Paintwise, I’m a huge van of Vallejo model and game color paints. The dropper bottles are fantastic, the availability of colors is excellent, equivalencies to Citadel colors are mostly spot-on, and the price is good. Specifically, for US Airborne I’ve finalized my technique:
| Step | Color | Area |
|---|---|---|
| prime | White Spray Primer | everywhere |
| basecoat | Green Ochre | uniform |
| basecoat | Buff | webbing - straps and pouches |
| basecoat | Cork Brown | boots, medpack, gas brassard |
| basecoat | Cork Brown 1 : 2 Mahogany Brown | m1911 holster, m6 sheath for m3 knife |
| basecoat | US Dark Green | rigger patches, helmet, flashlight, shovel |
| wash | Strong 3 : Magic 4 : 2 Water | painted areas (excluding boots) |
| highlight | Green Ochre 3 : 2 Iraqi Rock | uniform |
| highlight | Buff 2:1 Ivory | webbing |
| highlight | US Dark Green : Middlestone | rigger patches |
| detail | Brown Technical Pen | m1911 holster, m6 sheath |
| detail | G. Camo Med Brown : Blackbrown | m3 hilt |
| detail | Flat or Mahogany Brown | helmet leather chincap & top strap |
| detail | German Grey | canteen cap |
| wash | Smoke 1 : 2 Water | boots |
| wash | Woodgrain 2 : Smoke : 6 Water | boots |
| basecoat | Flat Flesh | rifle wood |
| basecoat | Gunmetal Grey | rifle barrel, receiver, bolt, magazine |
| smear | Smoke | rifle wood |
| wash | Smoke:Grain : 3 Magic : 4 Water | rifle wood, rifle barrel |
| highlight | Natural Steel : Mithril Silver | gunsights, bolt |
| varnish | Valspar Satin Clear Spray | everywhere, 4+ coats |
| varnish | Testors’ Dullcote | everywhere, 2 coats |
In that table, ‘Magic’ refers to a 50:50 mix of Future floor wax and water, my preferred strength of so-called ‘Magic Wash’ used to thin acrylic paints in a way that helps break surface tension at the same time. ‘Strong’ is Army Painter Strong Tone — the kind that comes in a dropper bottle, not the marked-up woodstain. I was underwhelmed by it, having to tweak it anyway, at which point I should just make my own. The primer and varnishes are hardware store purchases. Everything else in the table, aside from water, is Vallejo paint.
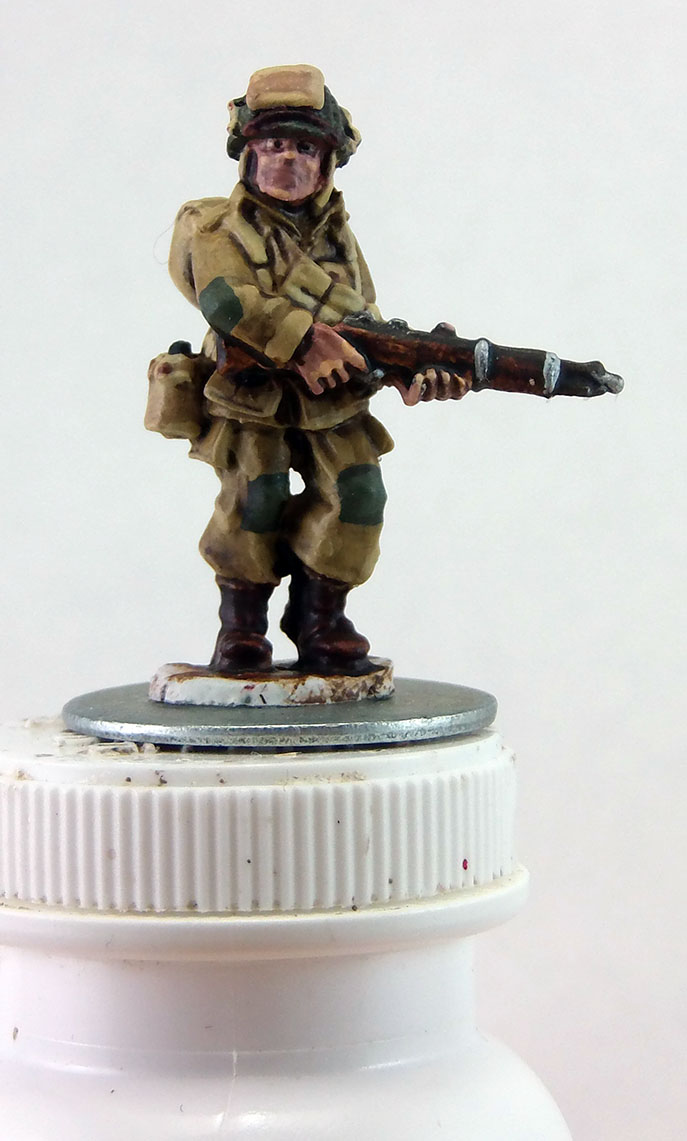
I experimented with things other than Buff for the webbing, but found that I wanted the higher contrast it gave. It’s obvious there’s not a lot of contrast there to begin with, particular after everything gets hit with the strong tone. Many guides to US Airborne suggest Vallejo’s Dark Sand for highlights, but I found it too yellow. Desert Yellow is a fine substitute for the Green Ochre, though it is a little lower contrast to the various webbing options, which is why I didn’t use it. All of this is from testing on my own figures, not just theorycrafting.
More, thinner washes would do better for the Smoke and Woodgrain effects on to get the right look of the fabled Cocoran boots or the rifle furniture, but using magic to thin them actually causes some acrylic buildup that kills some of the detail.
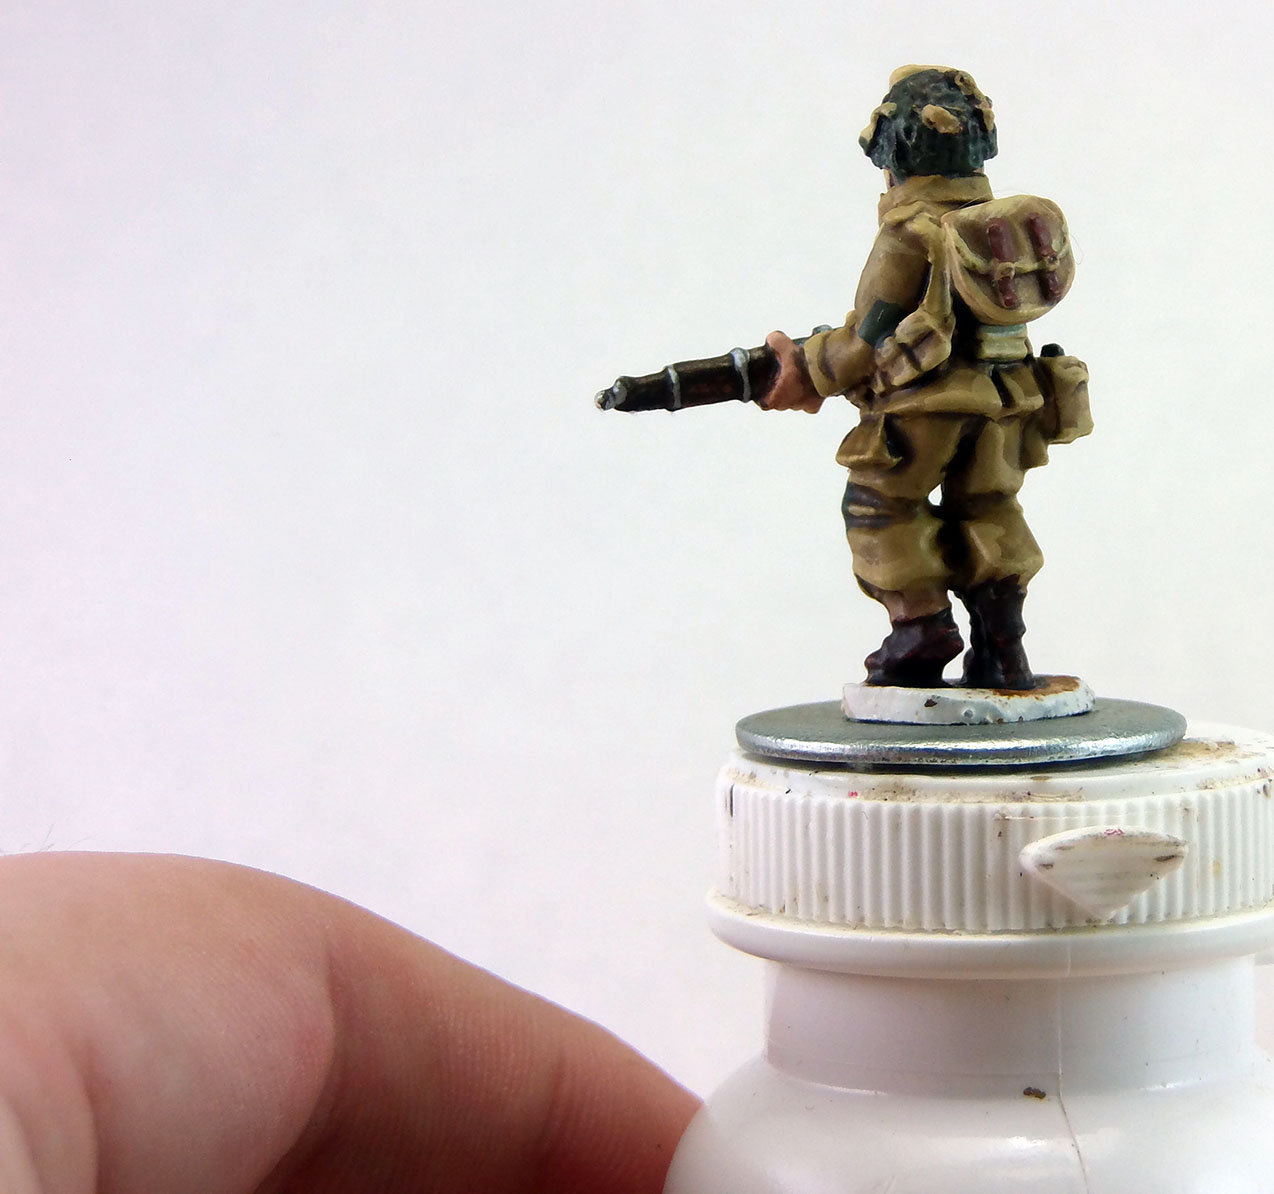
The radio is done with US Dark Green at 3:1 with Pastel Green, then highlighted with a 3:2 mixture.
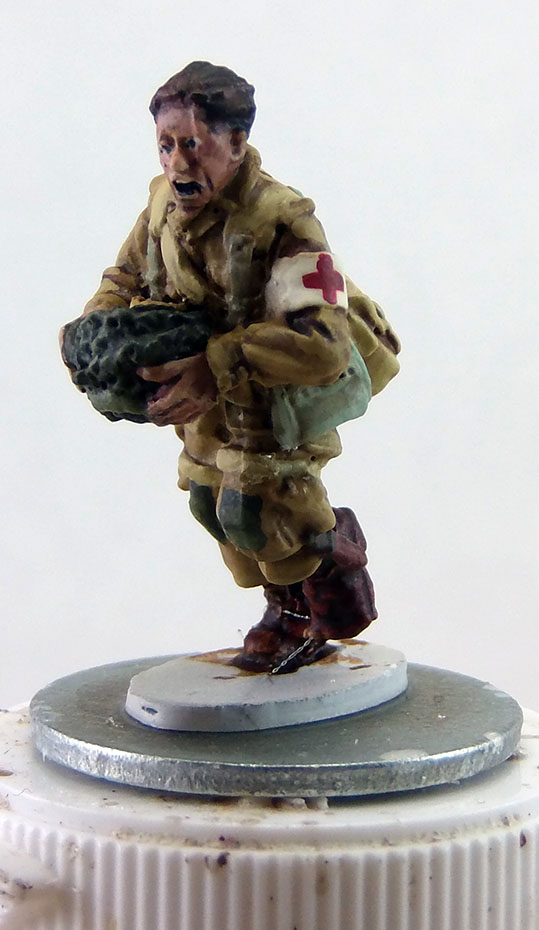
For pale green packs, like the M1936 Musette Bags made by the British for American use, I went with an even mix of Pastel Green and German Camo Beige, highlighted with just the Pastel Green. You can see these in action on the medic. His armband is done in Ivory, with a freehanded Gory Red cross. That’s from the Game Color line, not Model Color, as it was originally for my Tau. The Game Colors certainly handle better - I had Model Color paint rub off even from the scant handling during painting itself, but that’s what the varnish step is for.
After painting I did at least 4 passes with the clear satin to protect the models from losing paint, followed by a double coat of Dullcote to take off most of the shine. A quadruple coat of dullcote will leave you with something like my Tau.
Basing is a mix of fine black craft sand, flaky pale sand, and a few small rocks applied with a thinned white PVA glue mixture. That’s washed with some citadel chestnut ink I had left over for more of a soil quality to the pale sand. Another thin coat of PVA tops this. Finally, using a home-made static grass applicator built from a $3 electric flyswatter and an old strainer, I shake on some 2mm ‘late summer’ static grass and decorate with Silflorettes tufts of greener 2mm summer grass and longer 4mm late summer grass.
Friendly Local Gaming Store ↩